Using the Swim and ClickSend Integration
To use Swim’s messaging features with ClickSend, you will need a dedicated ClickSend account. Follow the steps below to sign up, install, and configure the integration.
Step 1: Sign Up and Install the ClickSend Integration
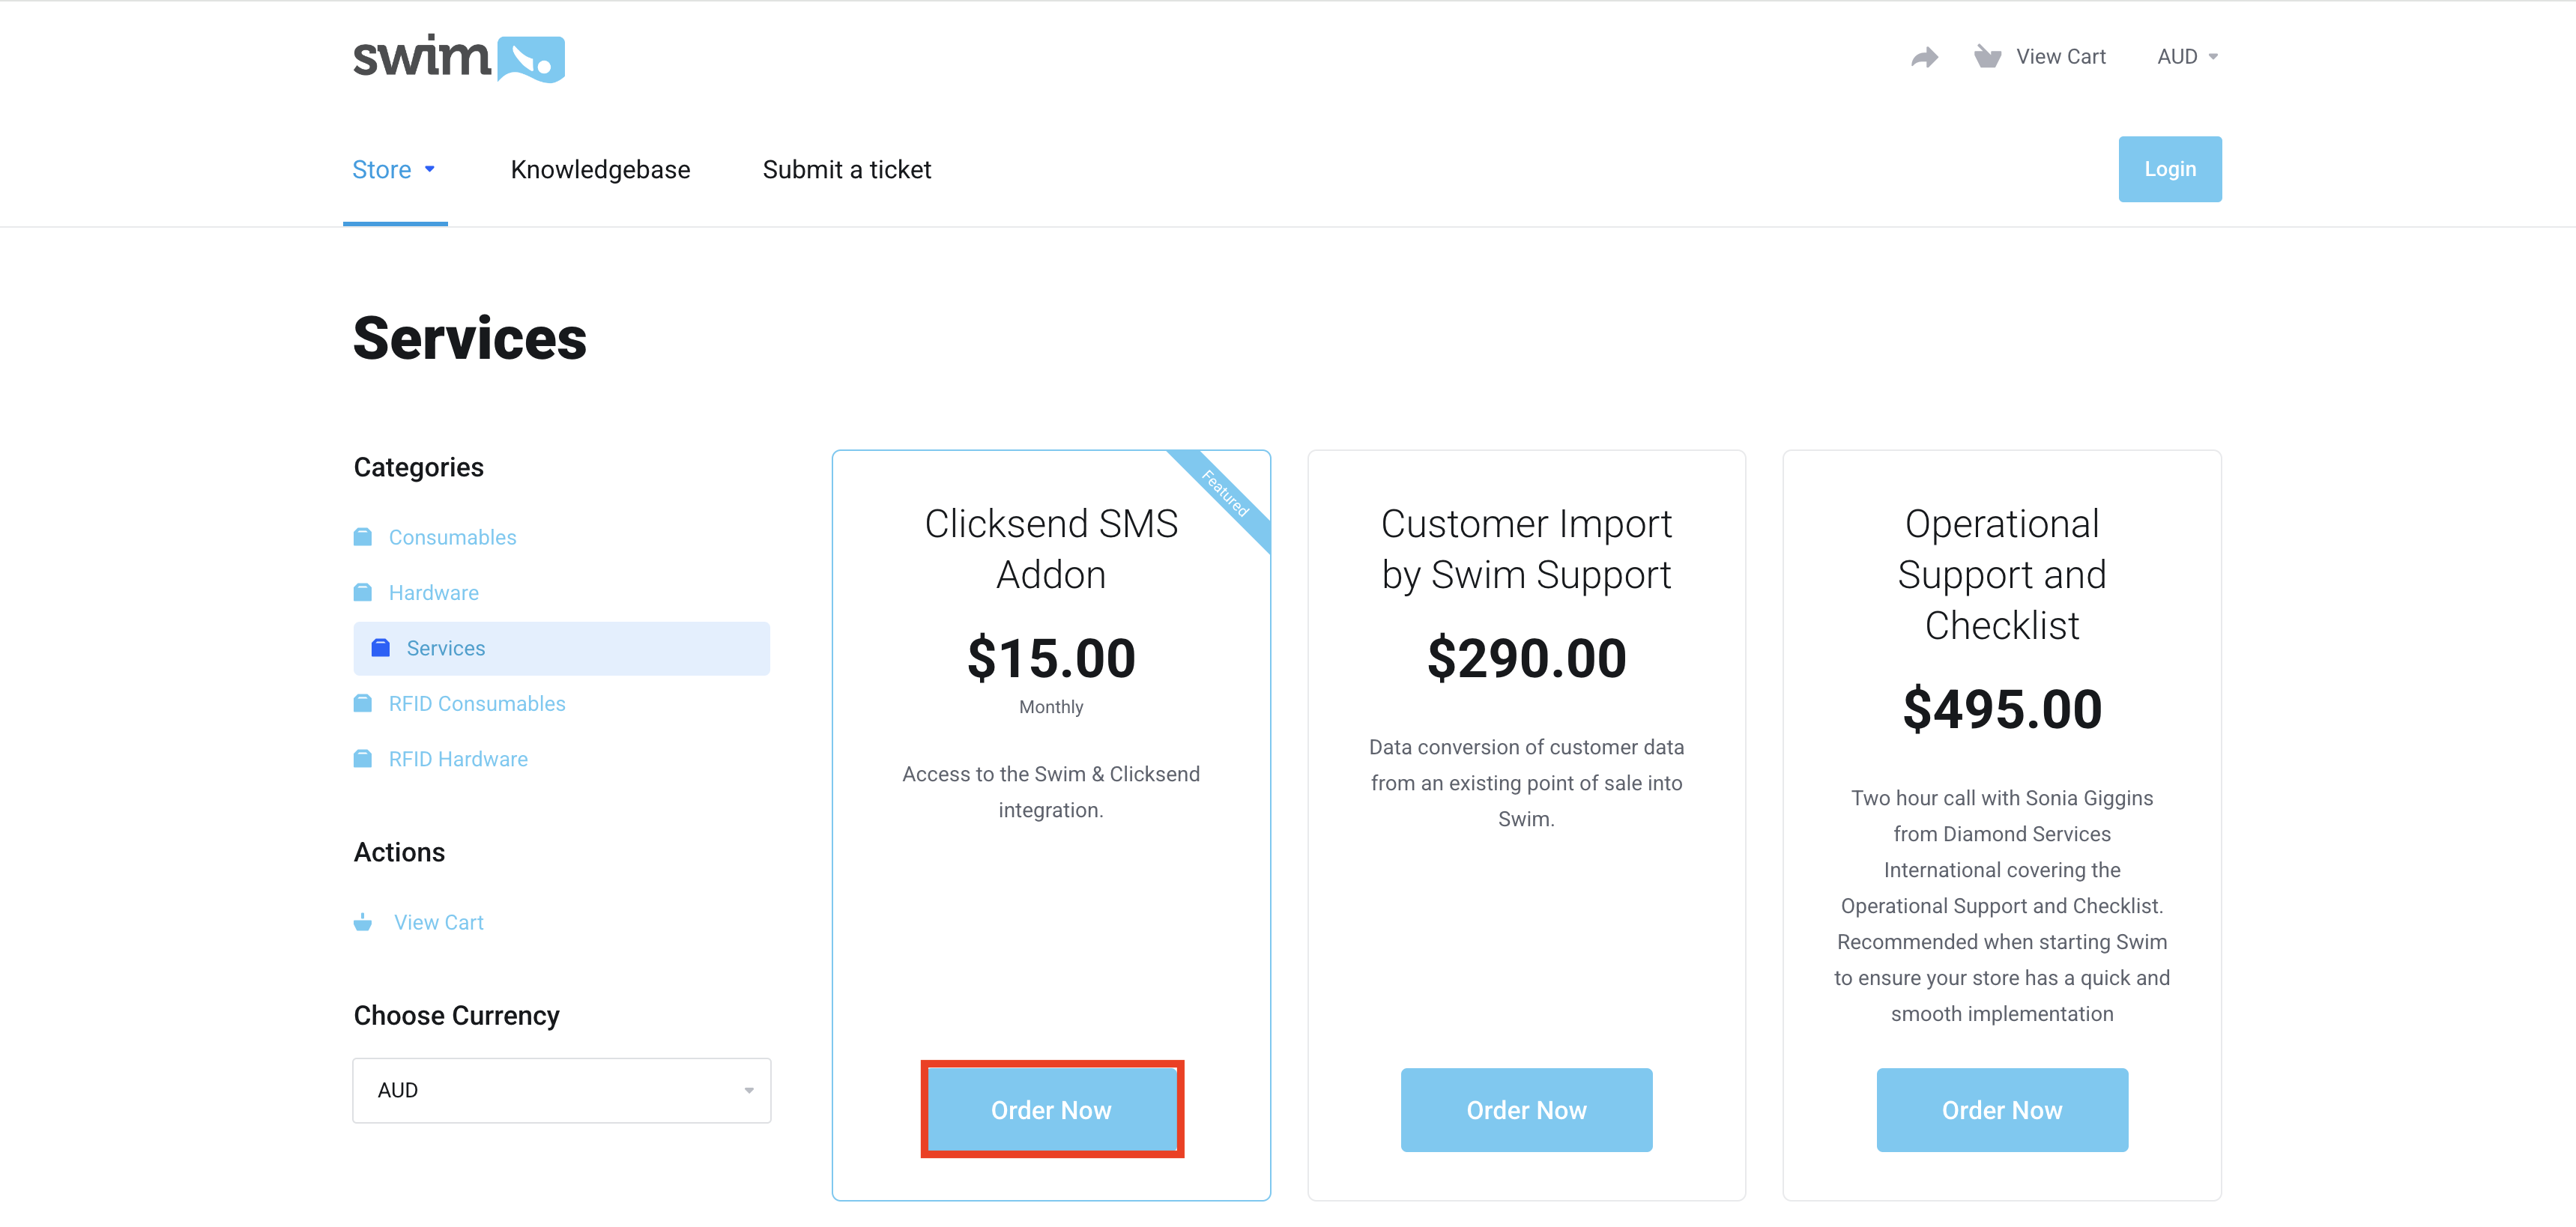
Note: If you are already subscribed to the legacy SMS product, you do not need to repurchase the add-on.
- Await the confirmation email from Swim Support that the ClickSend add-on has been activated on your Swim site.
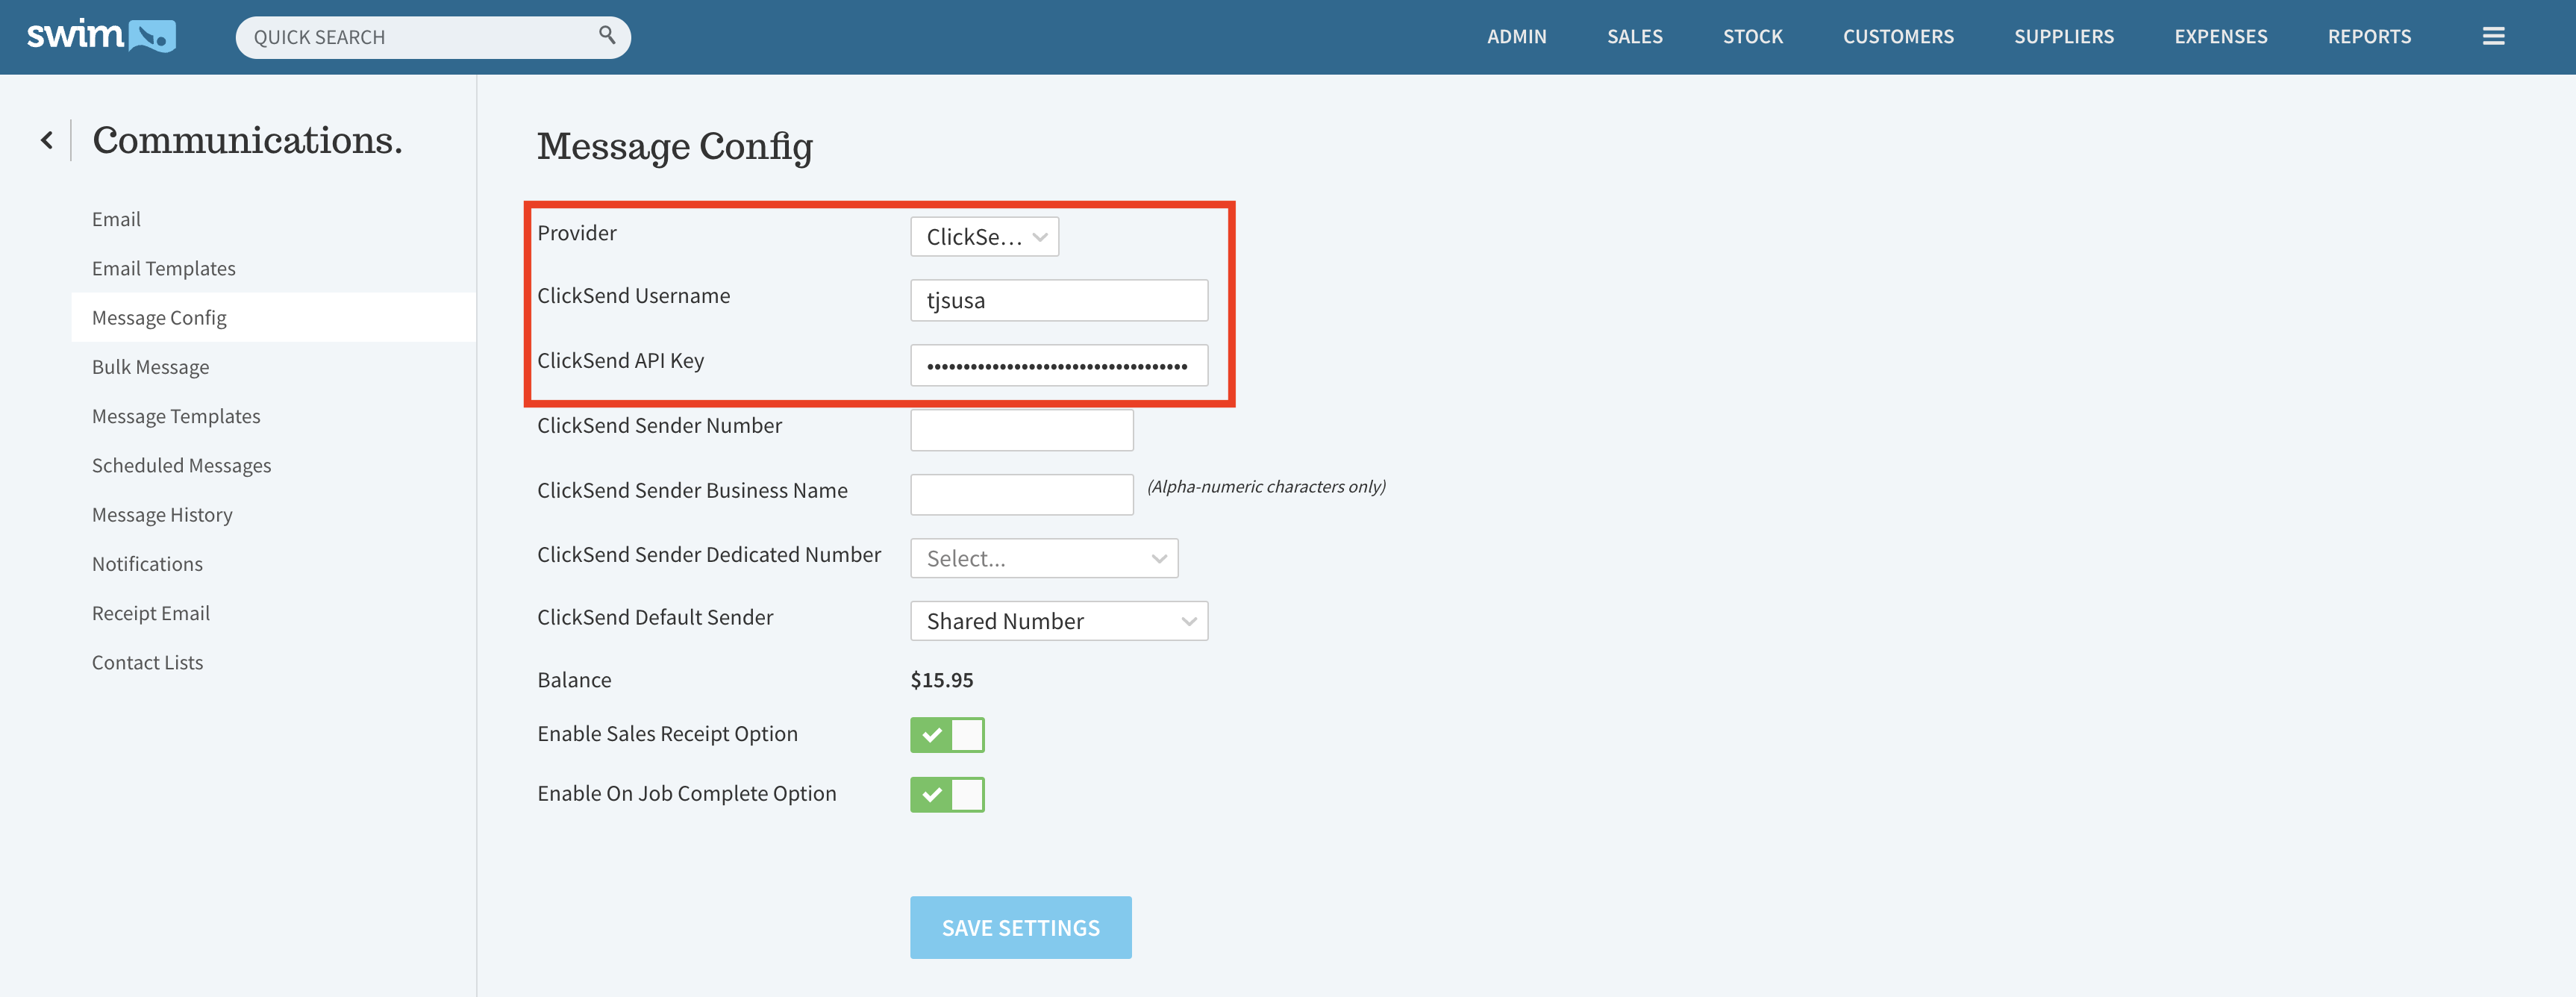
- Once confirmed, log in to Swim and go to Utilities > Communications > Message Config.
- Select ClickSend from the Provider dropdown menu.
- Enter your ClickSend Username and API Key. To obtain your API key, see this guide.
- Click Save Settings.
Step 2: Set Up Billing and Credits
- Log in to your ClickSend account via this link.
- Click your username in the top-right corner and select Billing.
- Choose Manage Credit Cards and add your card details, then save.
- Return to the Billing menu and select Top Up Account to purchase credits.
- Return again to Billing and select Balance Auto Top Up & Notifications.
- Enable Automatically Top Up by setting this option to YES.
- Choose:
- A minimum balance amount that triggers a top-up.
- Your desired top-up amount.
- Click Save.
Integration Complete
ClickSend and Swim are now connected, and you can begin customising your messaging features directly within Swim.
