Sender IDs in Swim
A Sender ID is the name or number displayed to the recipient of a message delivered via Swim. Swim provides four types of Sender IDs, each with different functionality. It is important to understand how these options work before sending messages.
What Sender ID Types Are Available?
| Sender ID Type | Description | Replies Supported? | Recommended Use |
|---|---|---|---|
| Shared Number | A pool of numbers that are randomly cycled each time you send a message. | Yes | Marketing messages when not using a Dedicated Number. |
| Mobile Number | Displays your personal mobile number as the sender ID. Replies go directly to your handset. | Yes | To receive replies back to a store mobile phone (not available for MMS). |
| Business Name | Displays your business name (max 11 characters). Must clearly identify your business. | No | General notifications such as job reminders (not available for marketing messages or MMS). |
| Dedicated Number | A pre-purchased number unique to your business. Provides consistency and flexibility. | Yes | All message types, including bulk marketing. |
Note: Business Name IDs cannot be used for marketing messages, as recipients are unable to reply.
How to Set Up a Sender ID
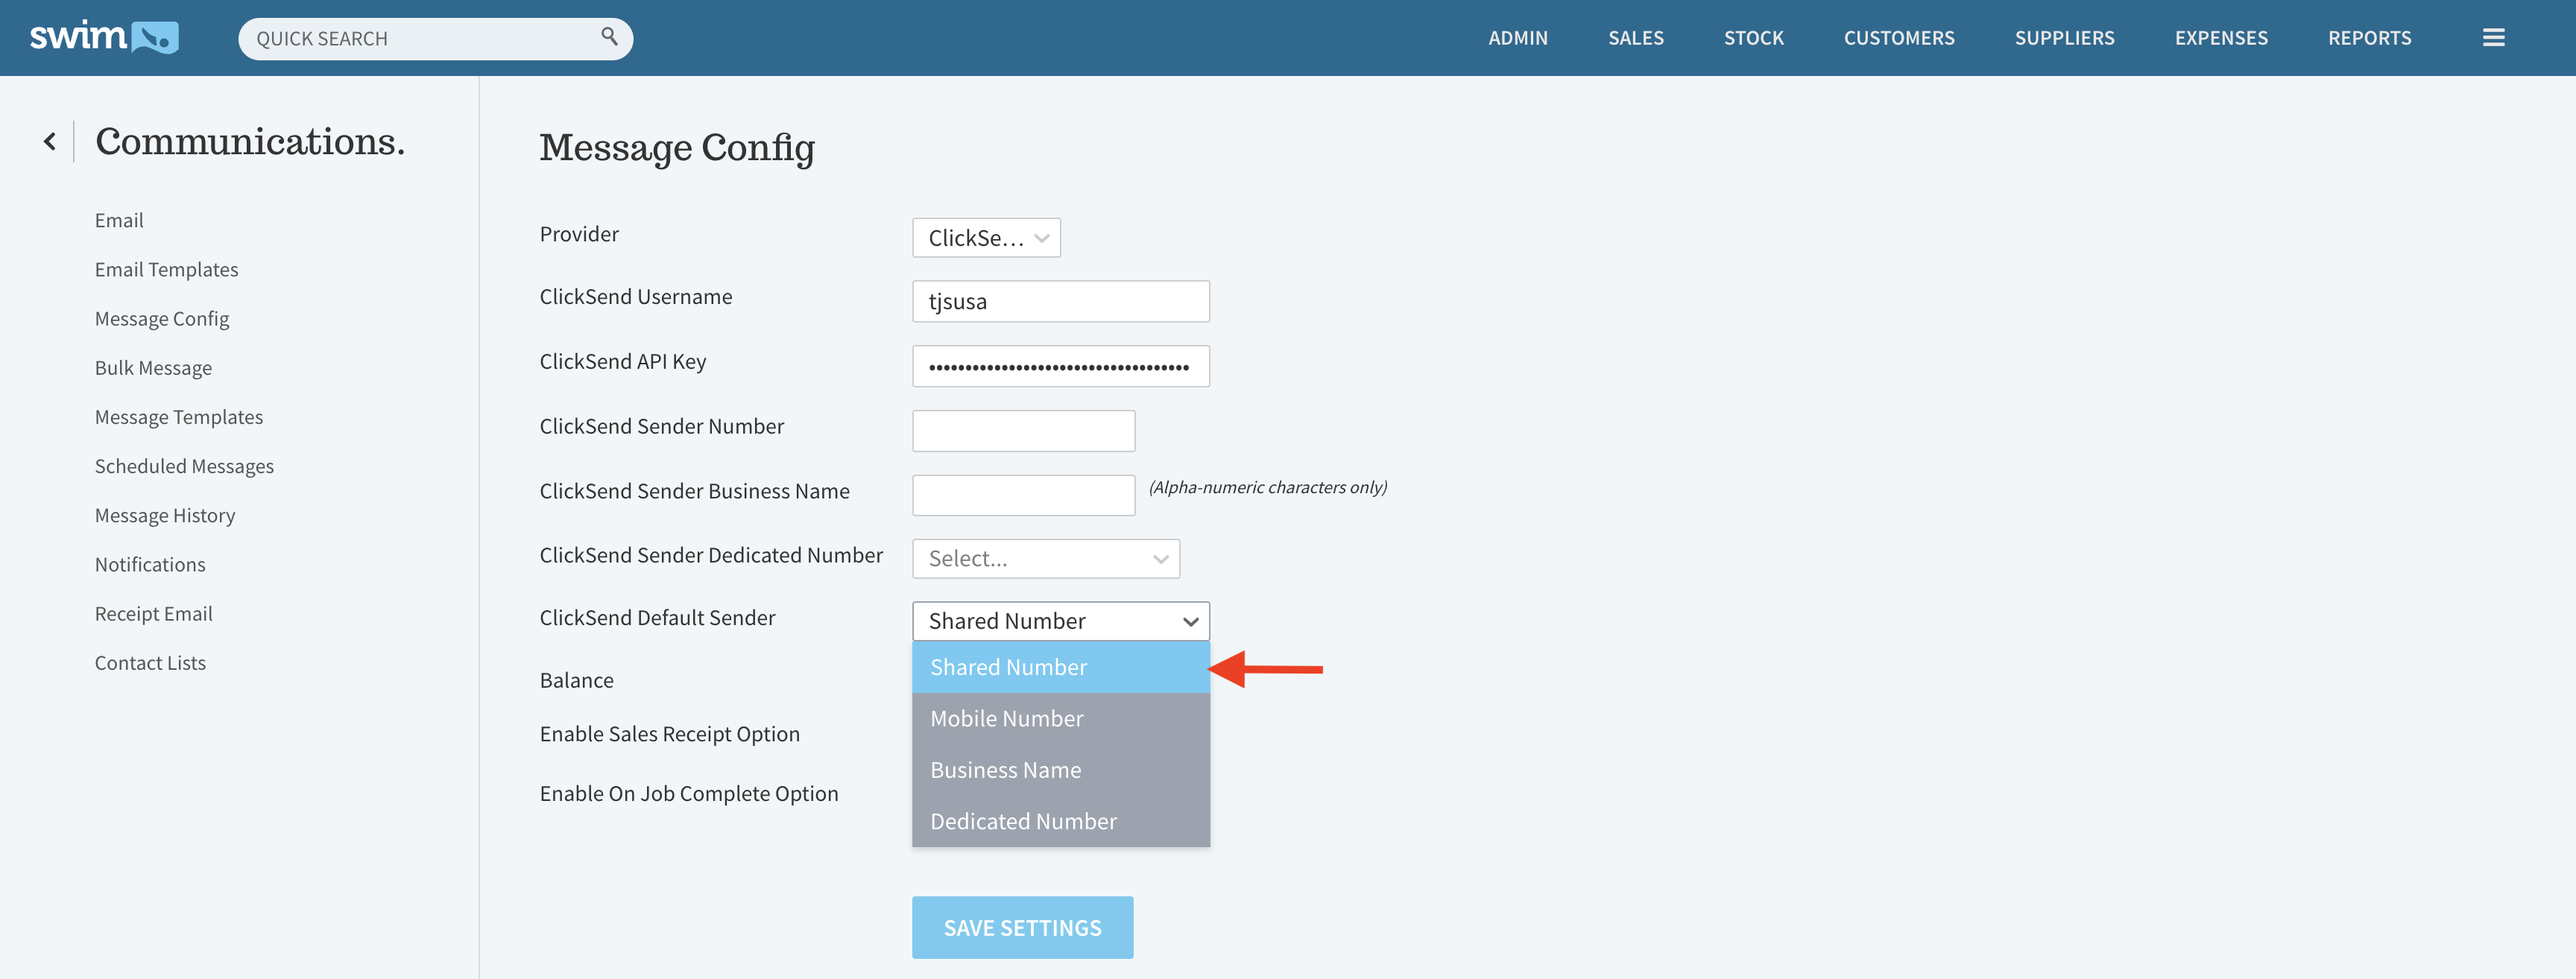
- Shared Number – Automatically available. When sending a message in Swim, select Shared Number from the Sender dropdown. A number will be randomly assigned.
- Mobile Number – Go to Utilities > Communication > Message Config and enter your mobile number into the Mobile Number field.

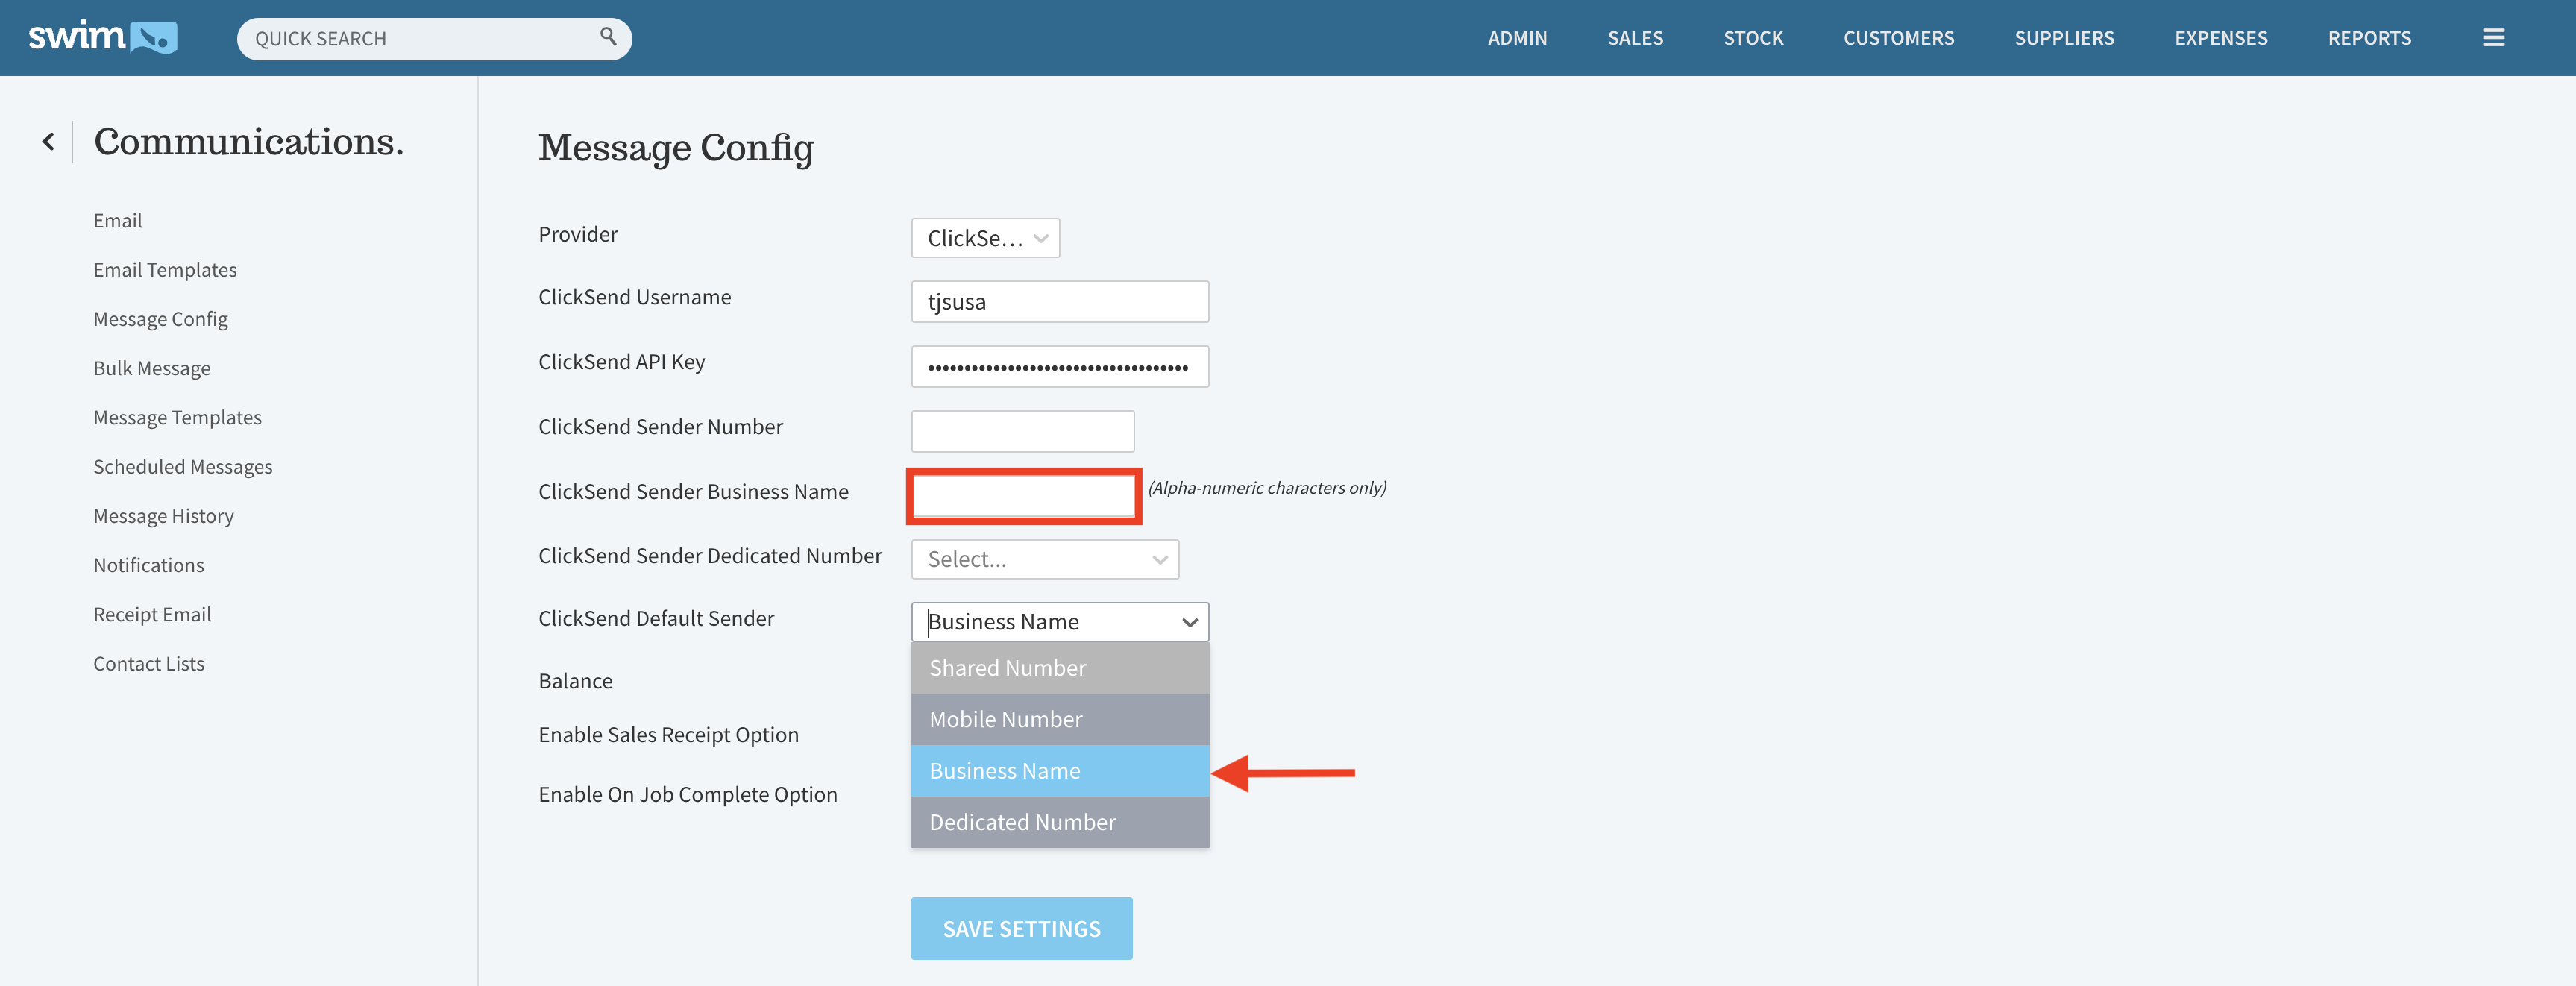
- Business Name – Go to Utilities > Communication > Message Config and enter your business name into the Business Name field.
How to Set Up a Dedicated Number
- Log in to your ClickSend account here.
- Select Numbers from the left-hand menu.
- Choose either SMS or SMS and MMS, depending on how you intend to use the number.
- Search for and purchase the number you want.
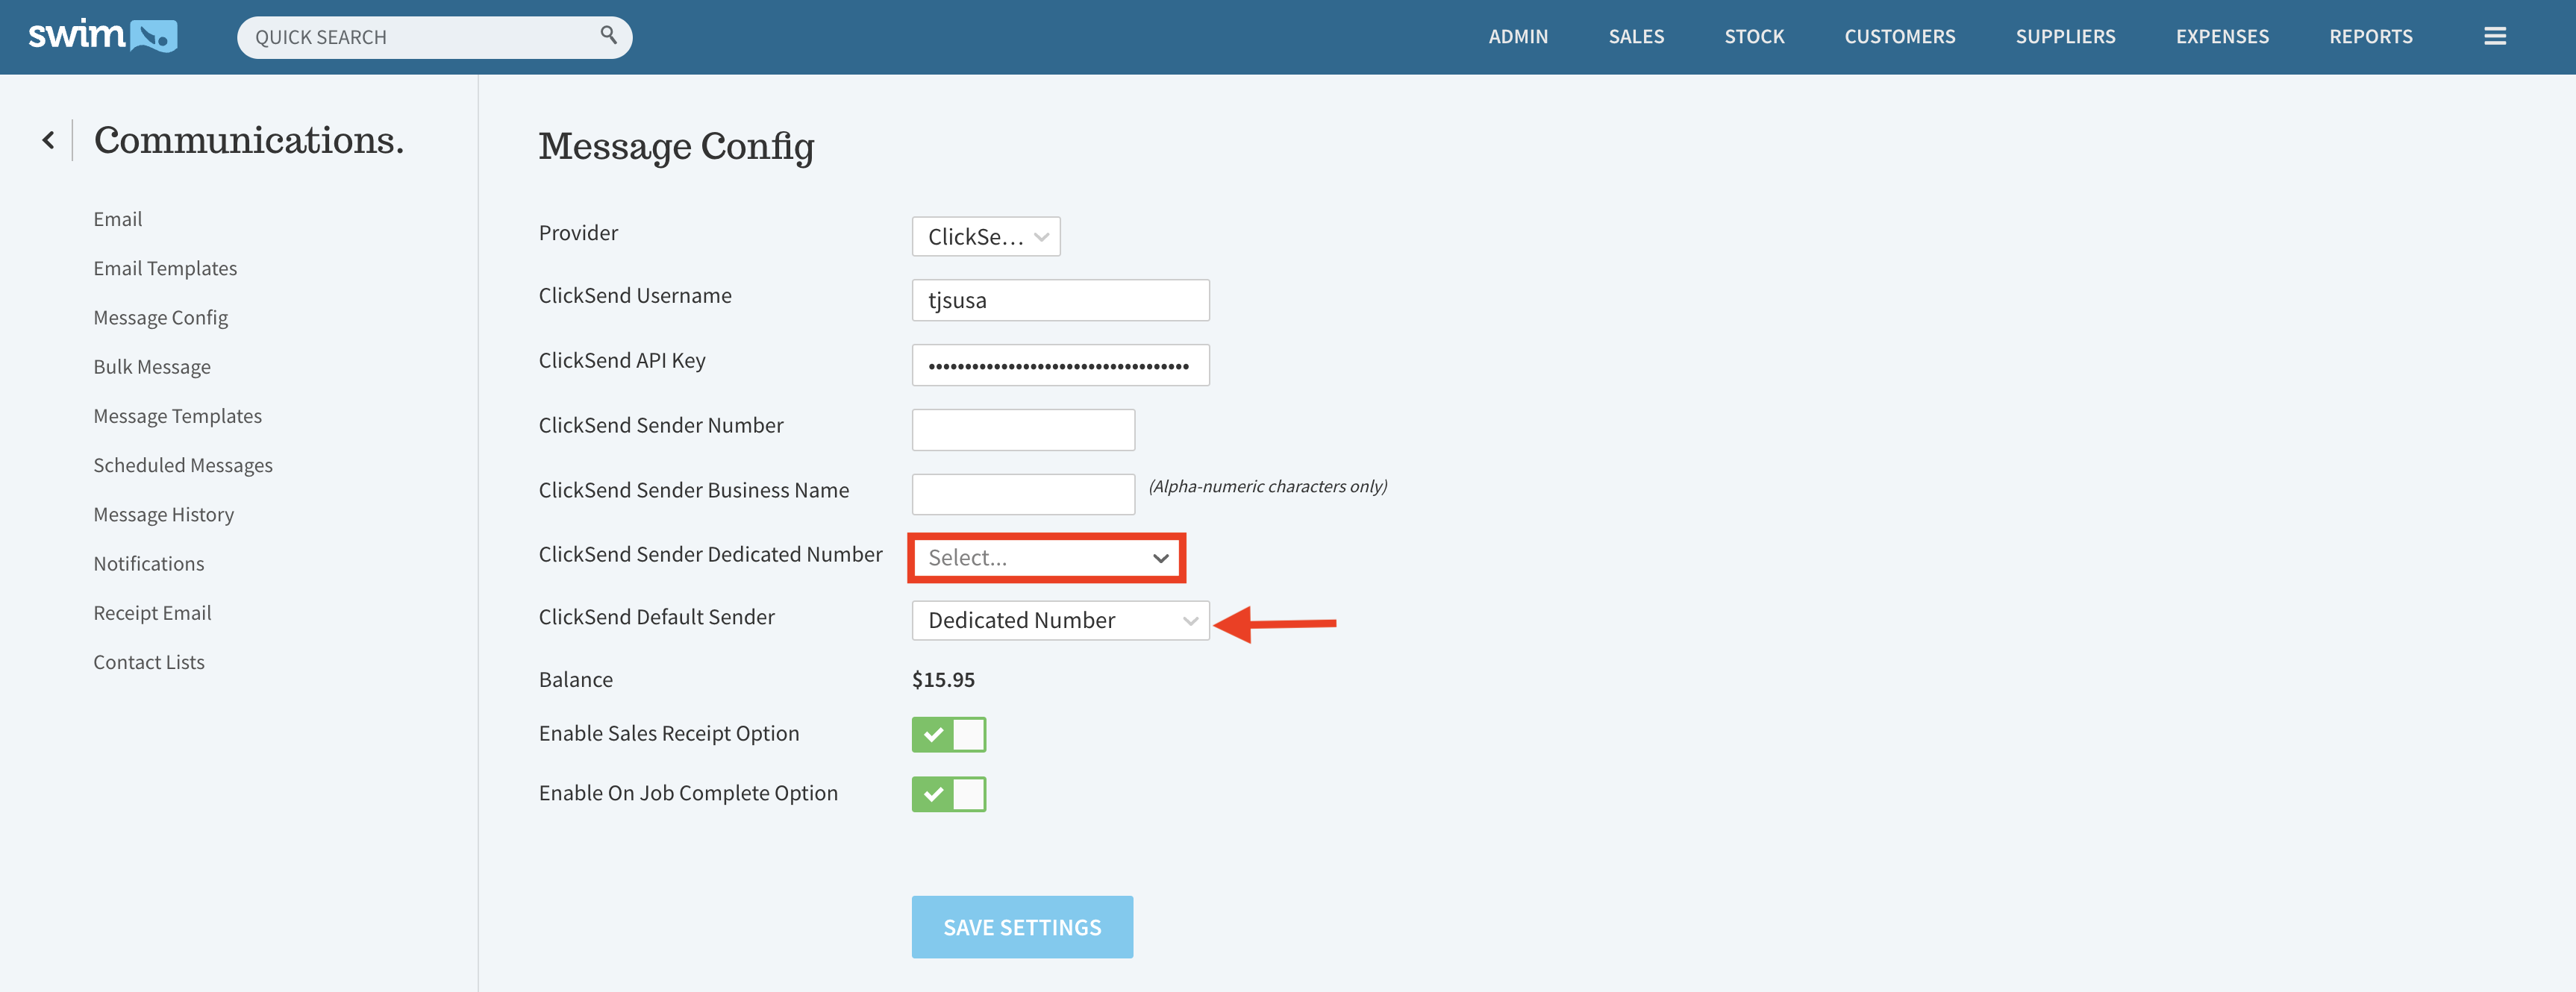
- In Swim, navigate to Utilities > Communication > Message Config.
- Select the number you purchased from the 'ClickSend Sender Dedicated Number' dropdown.
- Select 'Dedicated Number' in ClickSend Default Sender dropdown.
- Click Save Settings again to confirm.