Connecting Swim to Xero
This guide will walk you through connecting your Swim domain to the Xero accounting platform. Before beginning, ensure that:
- You have a Xero account already set up with the organisation you wish to integrate with Swim.
- The Xero add-on for Swim has been purchased and enabled.
Note: Assistance with creating a Xero account can be found at the link above. For purchasing the Swim Xero add-on, please contact Swim Support.
Step 1: Enable the Xero Integration in Swim
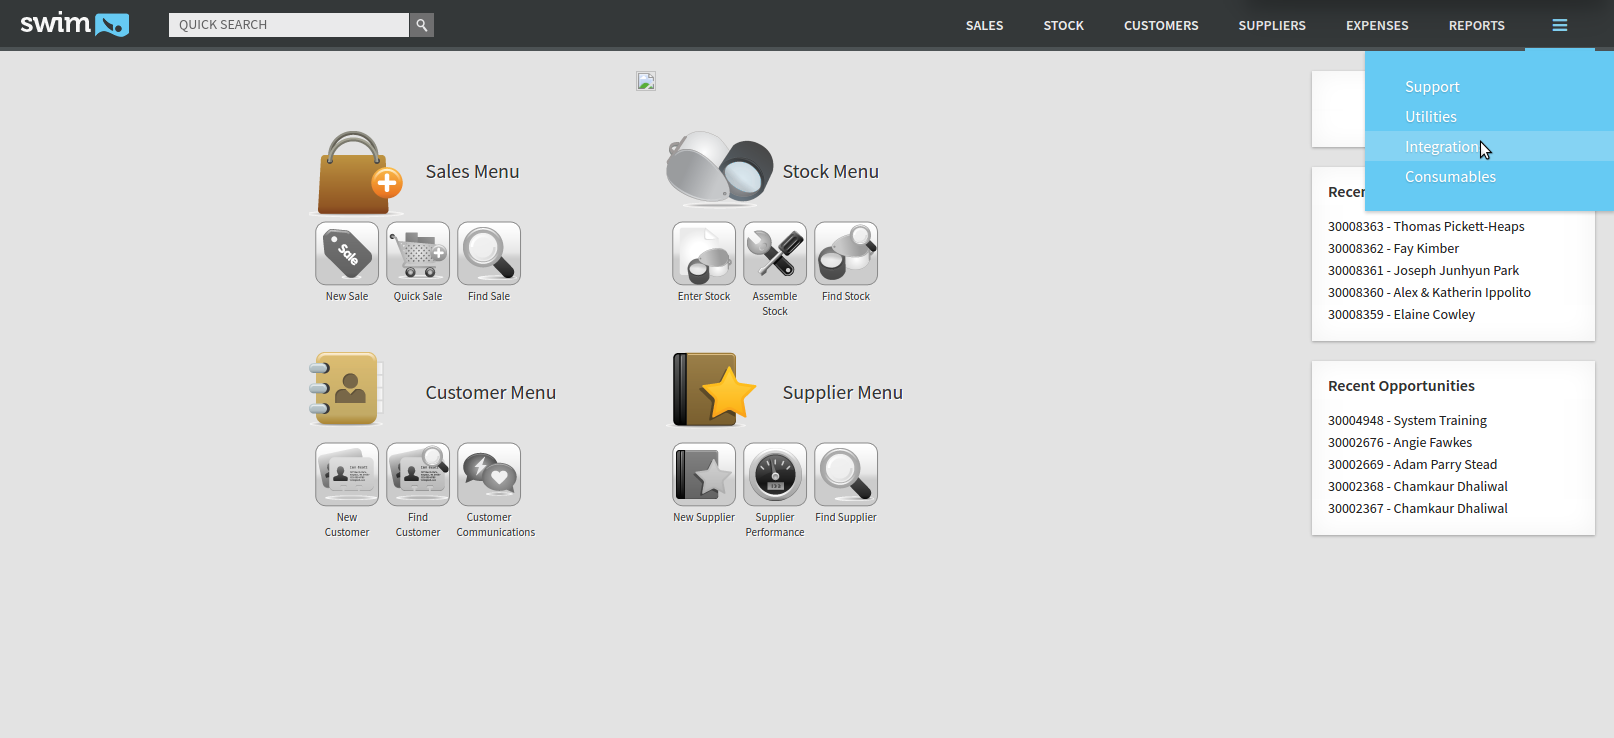
- From your Swim dashboard, click the dropdown menu.
- Select Integrations.
- Click the Xero button to open the integration menu.
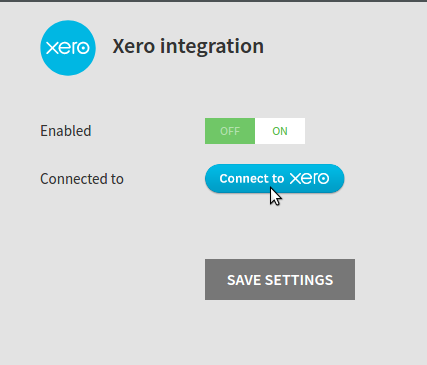
- Toggle the Enabled button to ON.
- Click Save Settings.
Step 2: Connect to Your Xero Account
- After enabling Xero, a Connect to Xero button will appear. Click it to open a new browser tab.
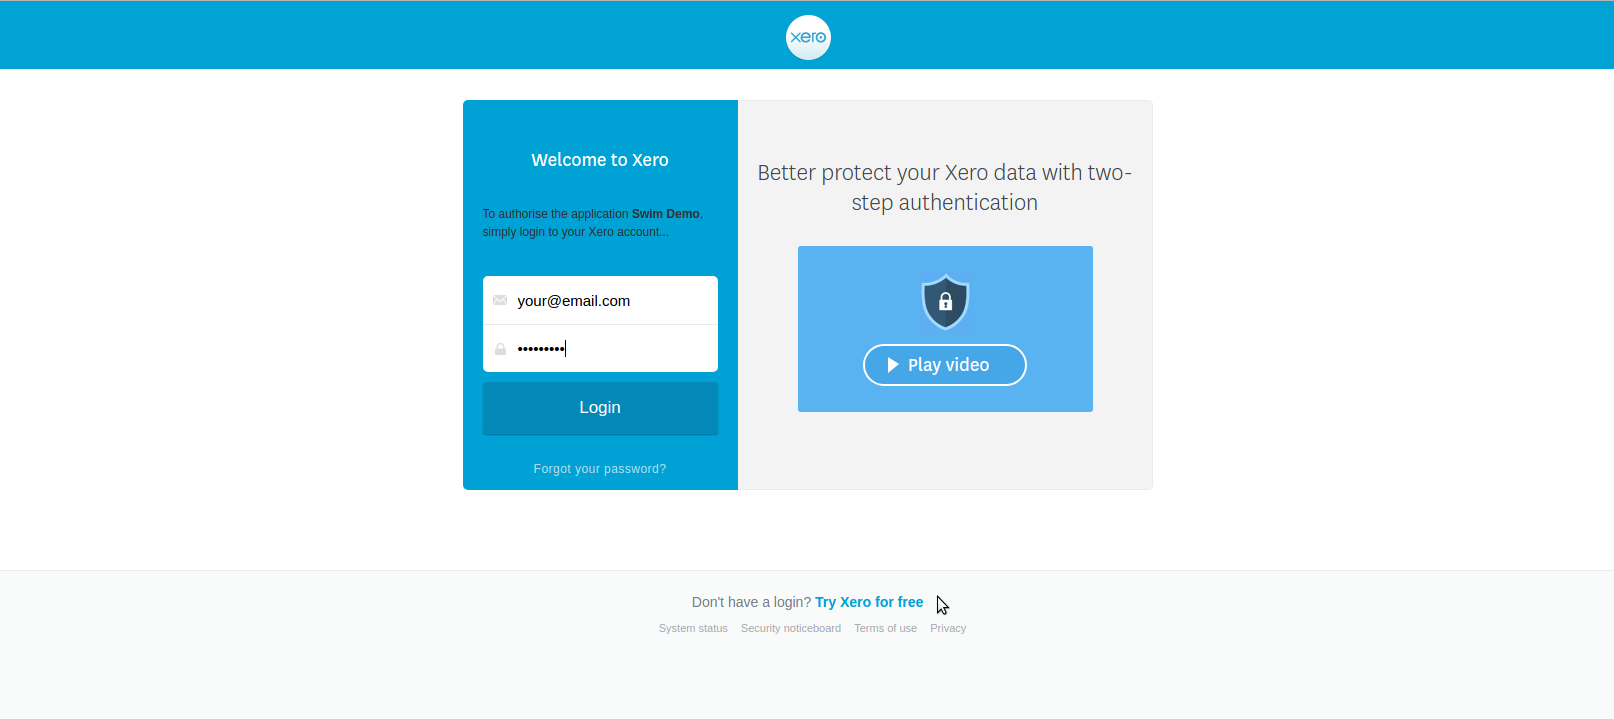
- If prompted, log in to your Xero account. (If you are already logged in, you may skip this step).
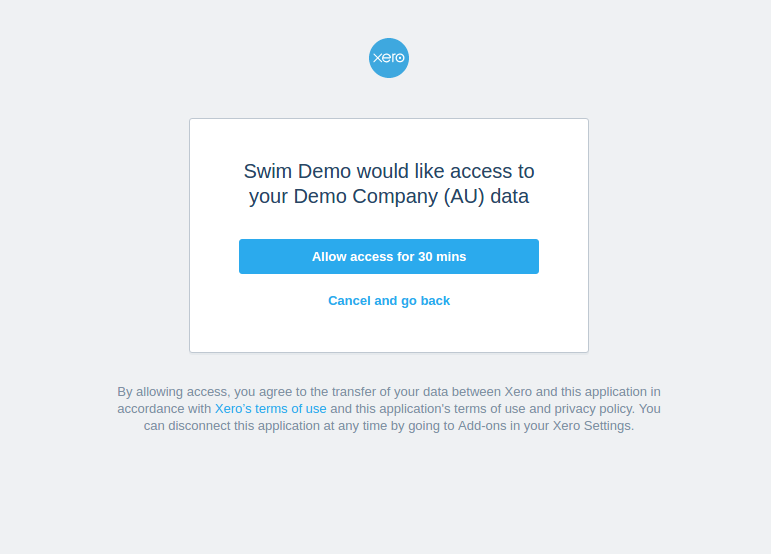
- Authorise Swim to access your organisation’s Xero data by clicking Allow access for 30 mins.
- You may be asked to repeat this authorisation step. If so, click Allow access again.
Step 3: Confirm the Connection
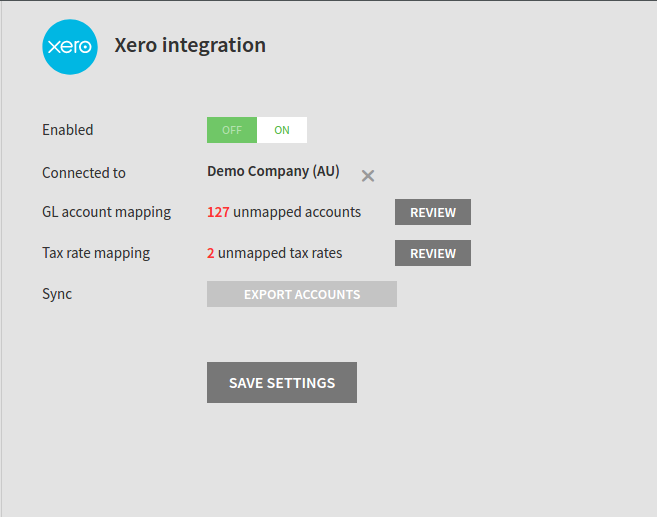
Once connected, you’ll be returned to the Xero integration page in Swim. Here you’ll see:
- Organisation Name – Displays the Xero organisation Swim is linked to. You can disconnect at any time by clicking the X next to the organisation name.
- Unmapped Accounts – Indicates GL accounts in Swim that still need to be mapped to Xero.
- Unmapped Tax Rates – Indicates Swim tax profiles that need to be mapped to Xero tax rates.
Next Steps
You have now successfully connected Swim to your Xero account. The next step is to map your Swim GL accounts to Xero.

