Zebra GX430T /ZD620 Setup Guide
Quick Reference:
1. Driver Installation
Installing your printer’s driver software:
- Navigate to https://www.zebra.com/us/en/support-downloads.html
- Select your printer model from the dropdown menu.
- Scroll down and click on Drivers.
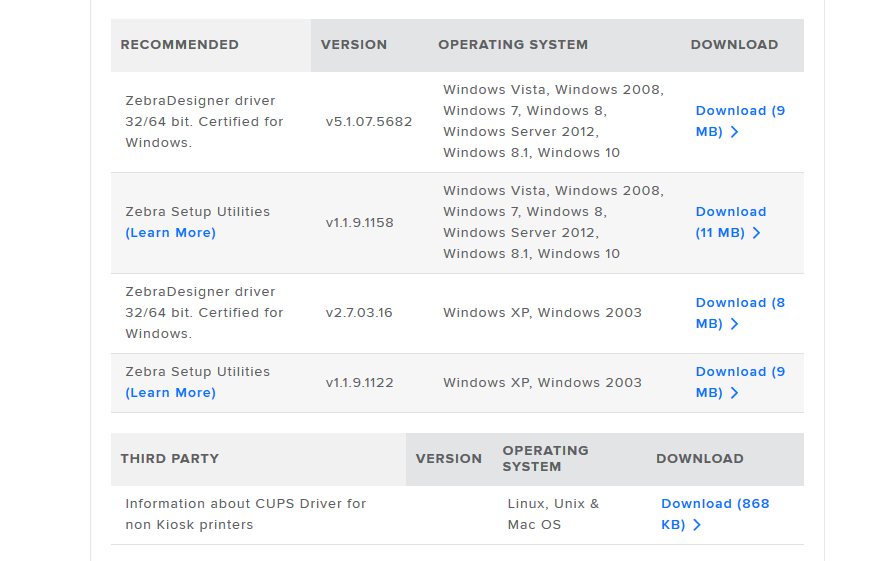
- Under the Download tab, click the download link next to Zebra Setup Utilities.

- Once downloaded, open the installer via your browser’s downloads list.
- Click Start, accept the license agreement, then click Next.
- Leave the install location unchanged, then click Next.
- Select “Anyone who uses this computer”, then click Next again.
- When the install finishes, click Finish and restart your PC.
2. Label Setup
Ensure your printer is using correct settings for label dimensions.
- Open Zebra Setup Utilities.
- Select your printer to highlight it in blue.

- Click Configure Printer Settings.
- Enter label width and height in millimetres:
- TSR985W: 78mm × 25mm
- T510 or T550: 78mm × 15mm

- Set orientation to Normal and click Next.
- Speed = 50.8 | Darkness = 30

- Set Print Mode = Transfer, Media Type = Web Sensing.

- Untick “Continue wizard with advanced settings” and click Finish.
3. PDF Reader Options
Ensure your browser is set to open PDFs with Adobe Reader instead of in-browser. This avoids formatting issues when printing stock tags.
4. Printer Driver Settings
If alignment is off, re-check:
- Printer model matches your label dimensions
- Speed and darkness levels are correctly configured
5. Stock Tag Templates
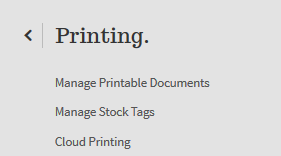
- Open Utilities > Printing > Manage Stock Tags.

- Find the tag template name that matches your label model (e.g. ZTAG_985W).
- Click Set Default beside the correct template.
To edit an existing template (e.g. for fine-tuning alignment), follow this guide:
https://support.onswim.com/knowledgebase/216/How-to-edit-stock-tags.html
6. Efficient Printing
To efficiently print stock tags for invoices or stock ranges, refer to this guide:
https://support.onswim.com/knowledgebase/570/How-to-effeciently-print-stock-tags.html
7. Troubleshooting
Red Light Error
If the printer flashes a red light, check:
- Printer is turned off before troubleshooting.
- Labels are seated correctly in the holder.
- Ribbon is installed with dull side facing the tags.
- Ribbon is firmly seated — remove, reclose lid, reseat securely.
Sensor Is Incorrectly Aligned
Reset to factory defaults:
- Hold down the Feed button.
- Release after 4 flashes.
If still misaligned, recalibrate:
- Hold down the Feed button again.
- Release after 5 flashes.
Printer Not Detected by PC
- Unplug and replug the USB cable.
- Power off the printer, wait 10 seconds, then turn back on.
- Try a different USB port.
- Replace the USB cable if needed.
Faded or Incorrect Printing
Ribbon might not be seated correctly:
- Turn off the printer and remove the ribbon.
- Turn printer on without ribbon until it flashes red.
- Turn off the printer again.
- Reinsert the ribbon, ensuring it aligns with the notches.

