Mapping Swim GL Accounts to Xero
Before continuing with setup, it’s important to understand how Swim communicates with Xero and what data is pushed.
Swim includes a built-in general ledger (GL) system that records every transaction. When a transaction occurs, Swim assigns it to a GL account that records the transaction’s value.
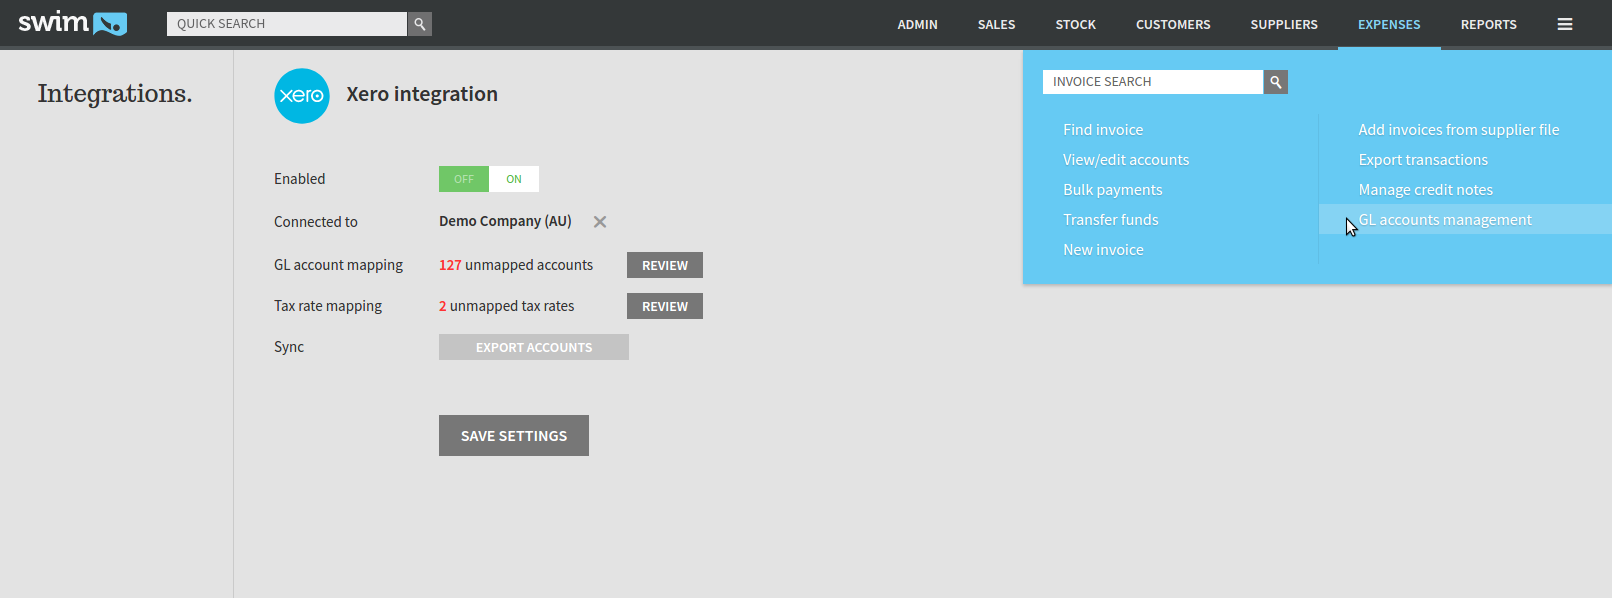
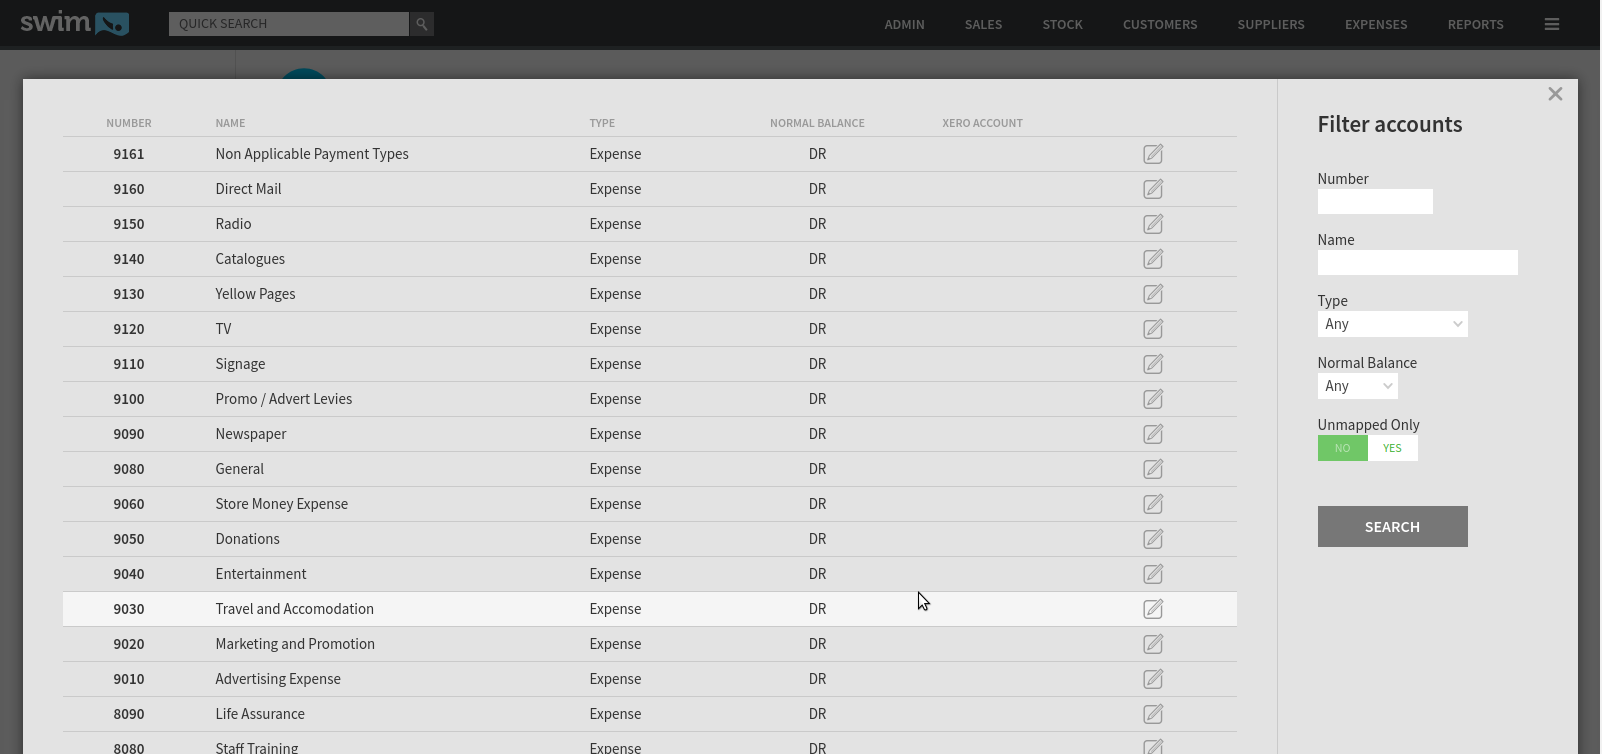
You can view these accounts in Expenses > GL Accounts Management. By default, Swim contains 126 GL accounts, each with a name and nominated type.

These accounts must be mapped to Xero for the integration to function correctly.
Steps to Map GL Accounts
- Navigate to the Xero integration page: Top Right Menu > Integrations > Xero.
- Next to the Unmapped Accounts information, click Review.
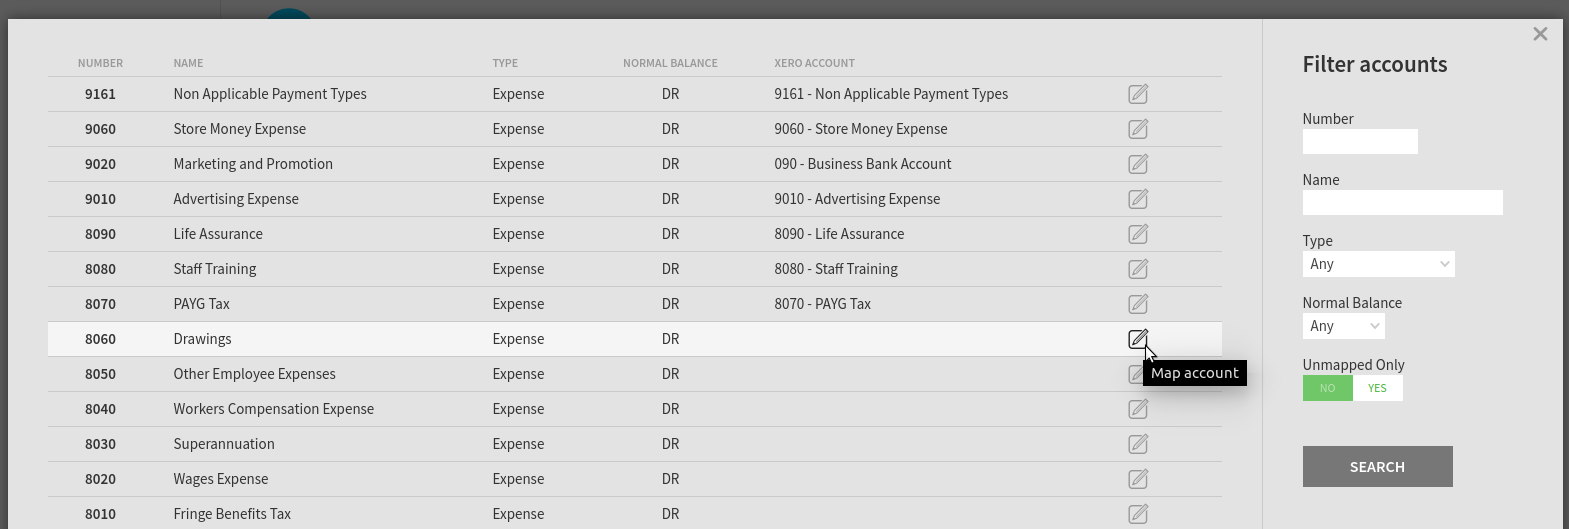
- A popup will display all currently unmapped GL accounts.

- Click Map Account to open the mapping popup.

- Ensure the Create new mapping in Xero checkbox is selected.
- Click the tick button to confirm the mapping.
- If successful, Swim will display the linked Xero account name.
Common Mistakes to Avoid
- Naming conflicts: If an account number (the four-digit code) or account name already exists in Xero, mapping may fail. → Solution: Edit the GL account name in Swim or map it to an existing Xero account.
- Incomplete mappings: All GL accounts must be mapped before continuing to tax rate mapping.
Pro Tip
Use the filter menu on the right of the GL accounts list to sort by account type, name, number, balance, or mapped status.
Next Step
Once all accounts are mapped, continue with: Step Three: Mapping Swim’s Tax Rates in Xero

