Stocktake Overview
Swim includes a powerful stocktake tool that allows for both full in-store stocktakes and targeted partial stocktakes. This guide outlines the complete stocktake process, including how to load stock, scan items, mark exceptions, and finalise results.
Full Store Stocktake
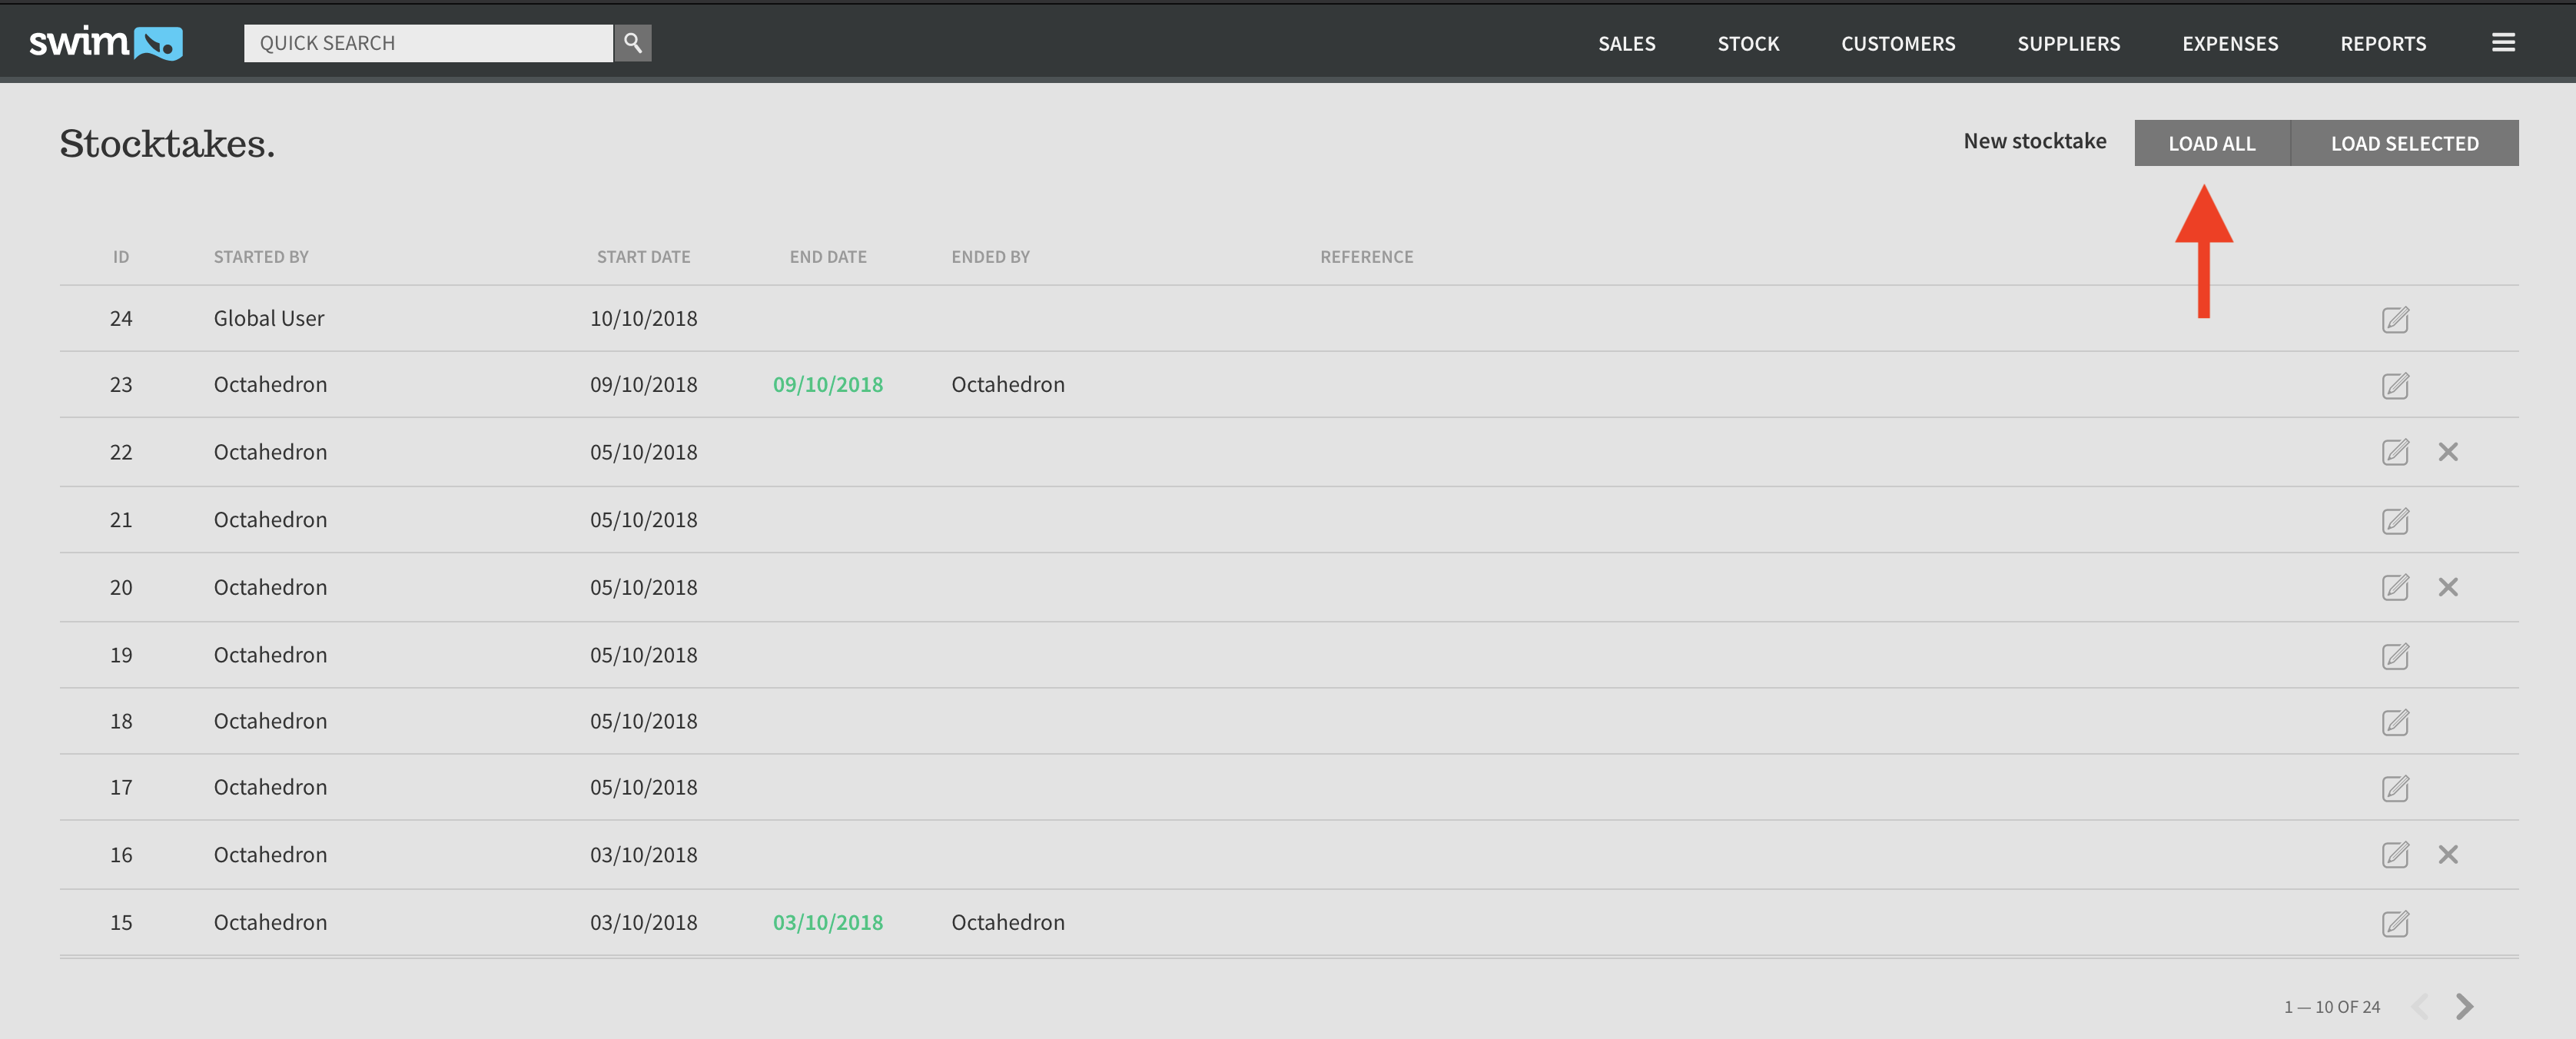
- Go to Stock > Stocktakes.
- Click on Load All to load every in-stock item for your store into the stocktake session.
You can now begin scanning. The page is always ready to scan — there’s no need to click into a box first. Simply use your scanner to begin scanning physical items. If you're not using a scanner, you can manually:
- Enter stock numbers into the filter box and press Enter, or
- Tick the box beside each item to mark it as scanned.
Scanned items appear under the Scanned heading. To check if an item has been scanned already:
- Use the filter box to search by stock number, or
- Scan the item again — duplicates are automatically prevented.
Partial Stocktake
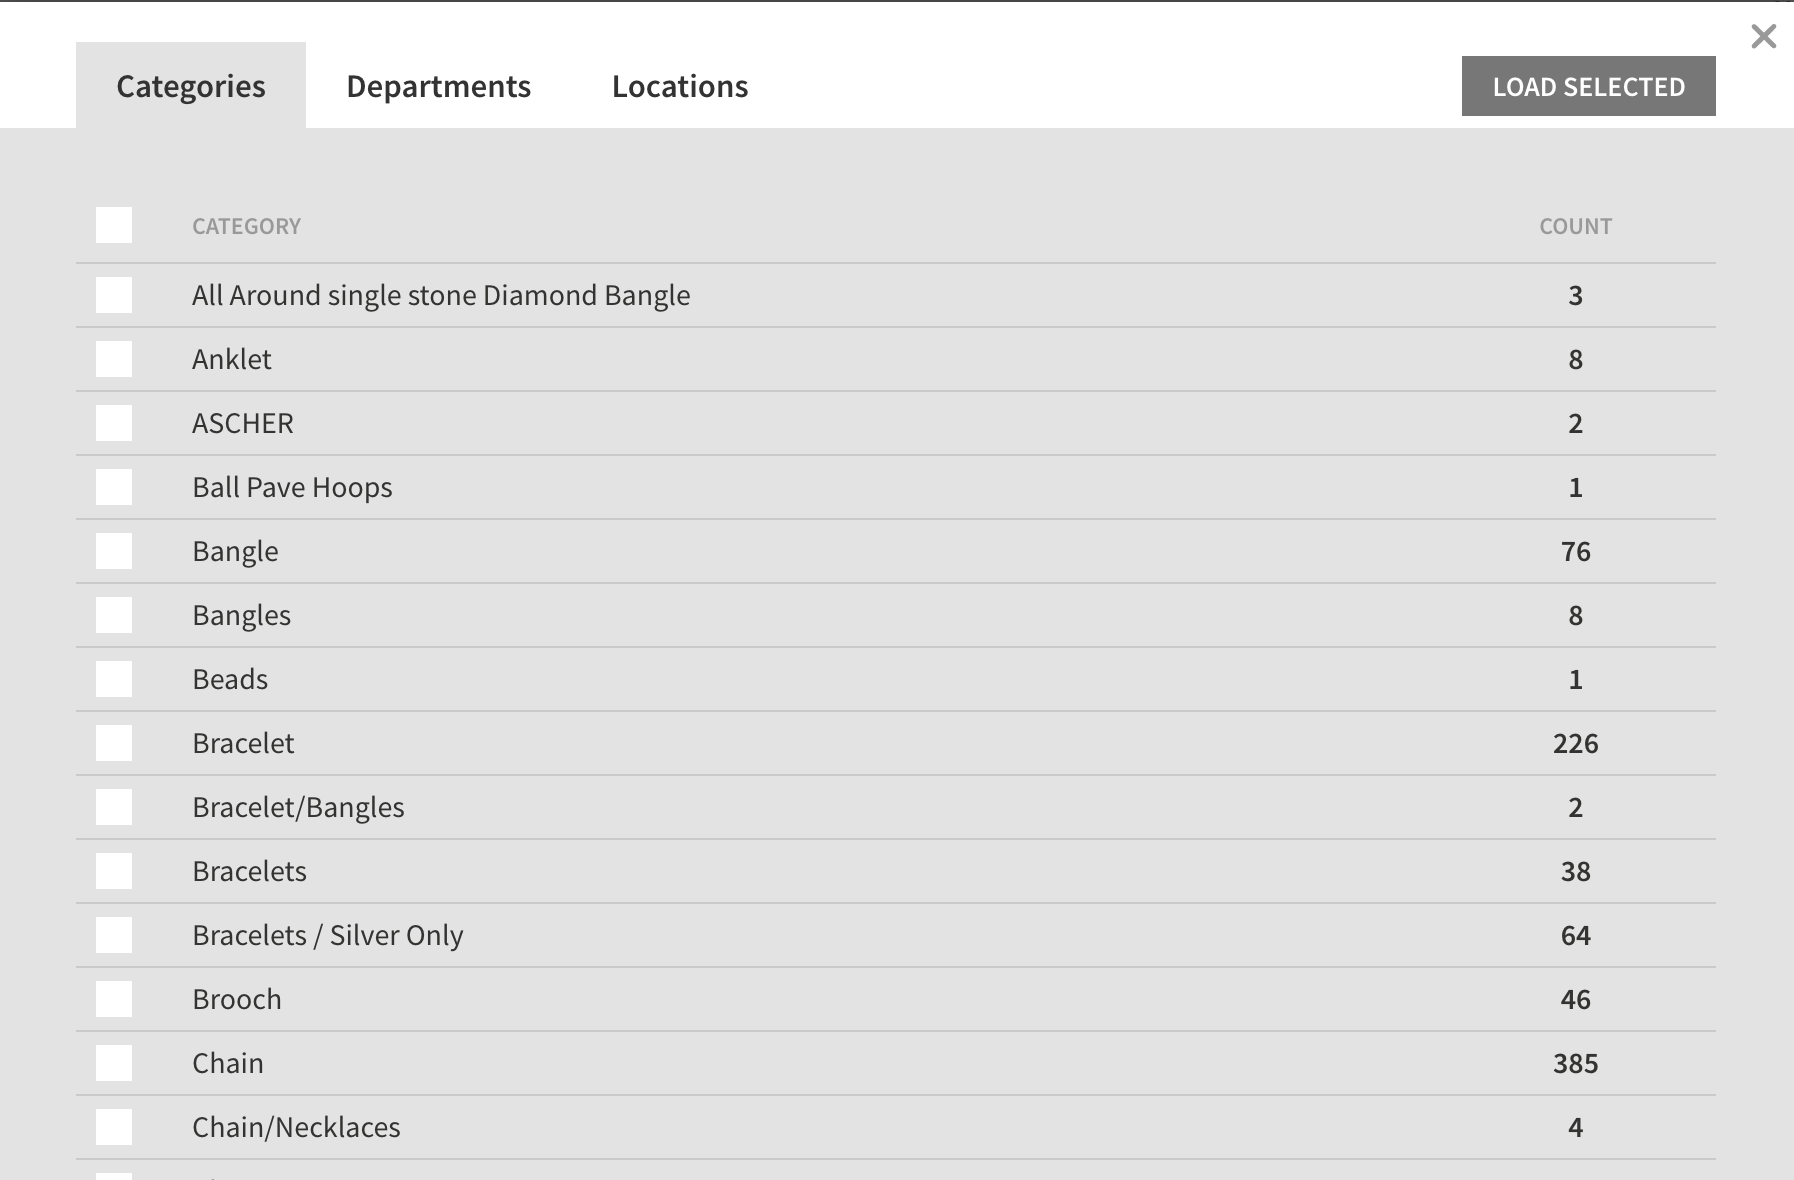
- Go to Stock > Stocktakes.
- Click Load Selected.
- Tick the relevant Departments, Categories or Locations to define your custom stocktake scope.
Understanding Stocktake Tabs
- All: All items loaded into the stocktake session.
- Unscanned: Items not yet scanned. After scanning, this becomes your missing stock list.
- Marked: Items flagged for review — broken tags, returns, inactive pieces, etc.
- Scanned: All items already scanned into the stocktake.
- Exceptions: Items with errors — either out of stock or not matching the stocktake scope.
Marking Items as Inactive or Returned to Supplier
To mark an item as inactive or returned to supplier:
- Tick the box next to the item.
- Use the popup to select either Inactive or Returned to Supplier.
Handling Missing Stock
- Review the Unscanned tab once you've scanned all known items.
- Investigate missing items in store.
- If confirmed missing:
- Click Print or Export while in the Unscanned tab to retain a copy.
- Tick each missing item and mark as Missing from the dropdown. These move to the Marked tab.
Fixing Exceptions
All exceptions should be resolved before closing a stocktake. In the Exceptions tab, each item will have two icons:
- Fix: Automatically resolves common issues (e.g. incorrect store or deposit status) and moves the item to Scanned.
- Remove: Excludes the item from the stocktake without making changes.
Zero or Negative Quantity Items
You can choose to include or exclude zero/negative quantity items before loading your stocktake via:
Utilities > Stock > Stocktake Settings
You can also exclude these items from reports using:
Reports > Stock > Stocktake Listings
Changing the Display View
You can group the stocktake display by:
- Department
- Category
- Location
- Item
This allows visual progress bars to show stocktake completion by section. Use the Grouping dropdown at any time during an open stocktake.
Tips and Tricks
- Use the filter box (bottom left) to isolate form types. Example: type “r” to filter for rings.
- Click on an item’s image to enlarge it.
- Stock added to Swim after a stocktake starts won’t appear — but you can scan it to create an exception, then click Fix to include it.
- Archived stocktakes can be re-opened at any time and include all associated reports.
