Initial Setup
At each store, create a payment type via Utilities > Lists > Sale Payment Types called “Customer Credit from [Store Name]” — replacing [Store Name] with the relevant store’s name.
Set the Banking Type to Non Applicable.
Using Customer Credit Across Stores
Step 1: Reduce Credit at the Original Store
-
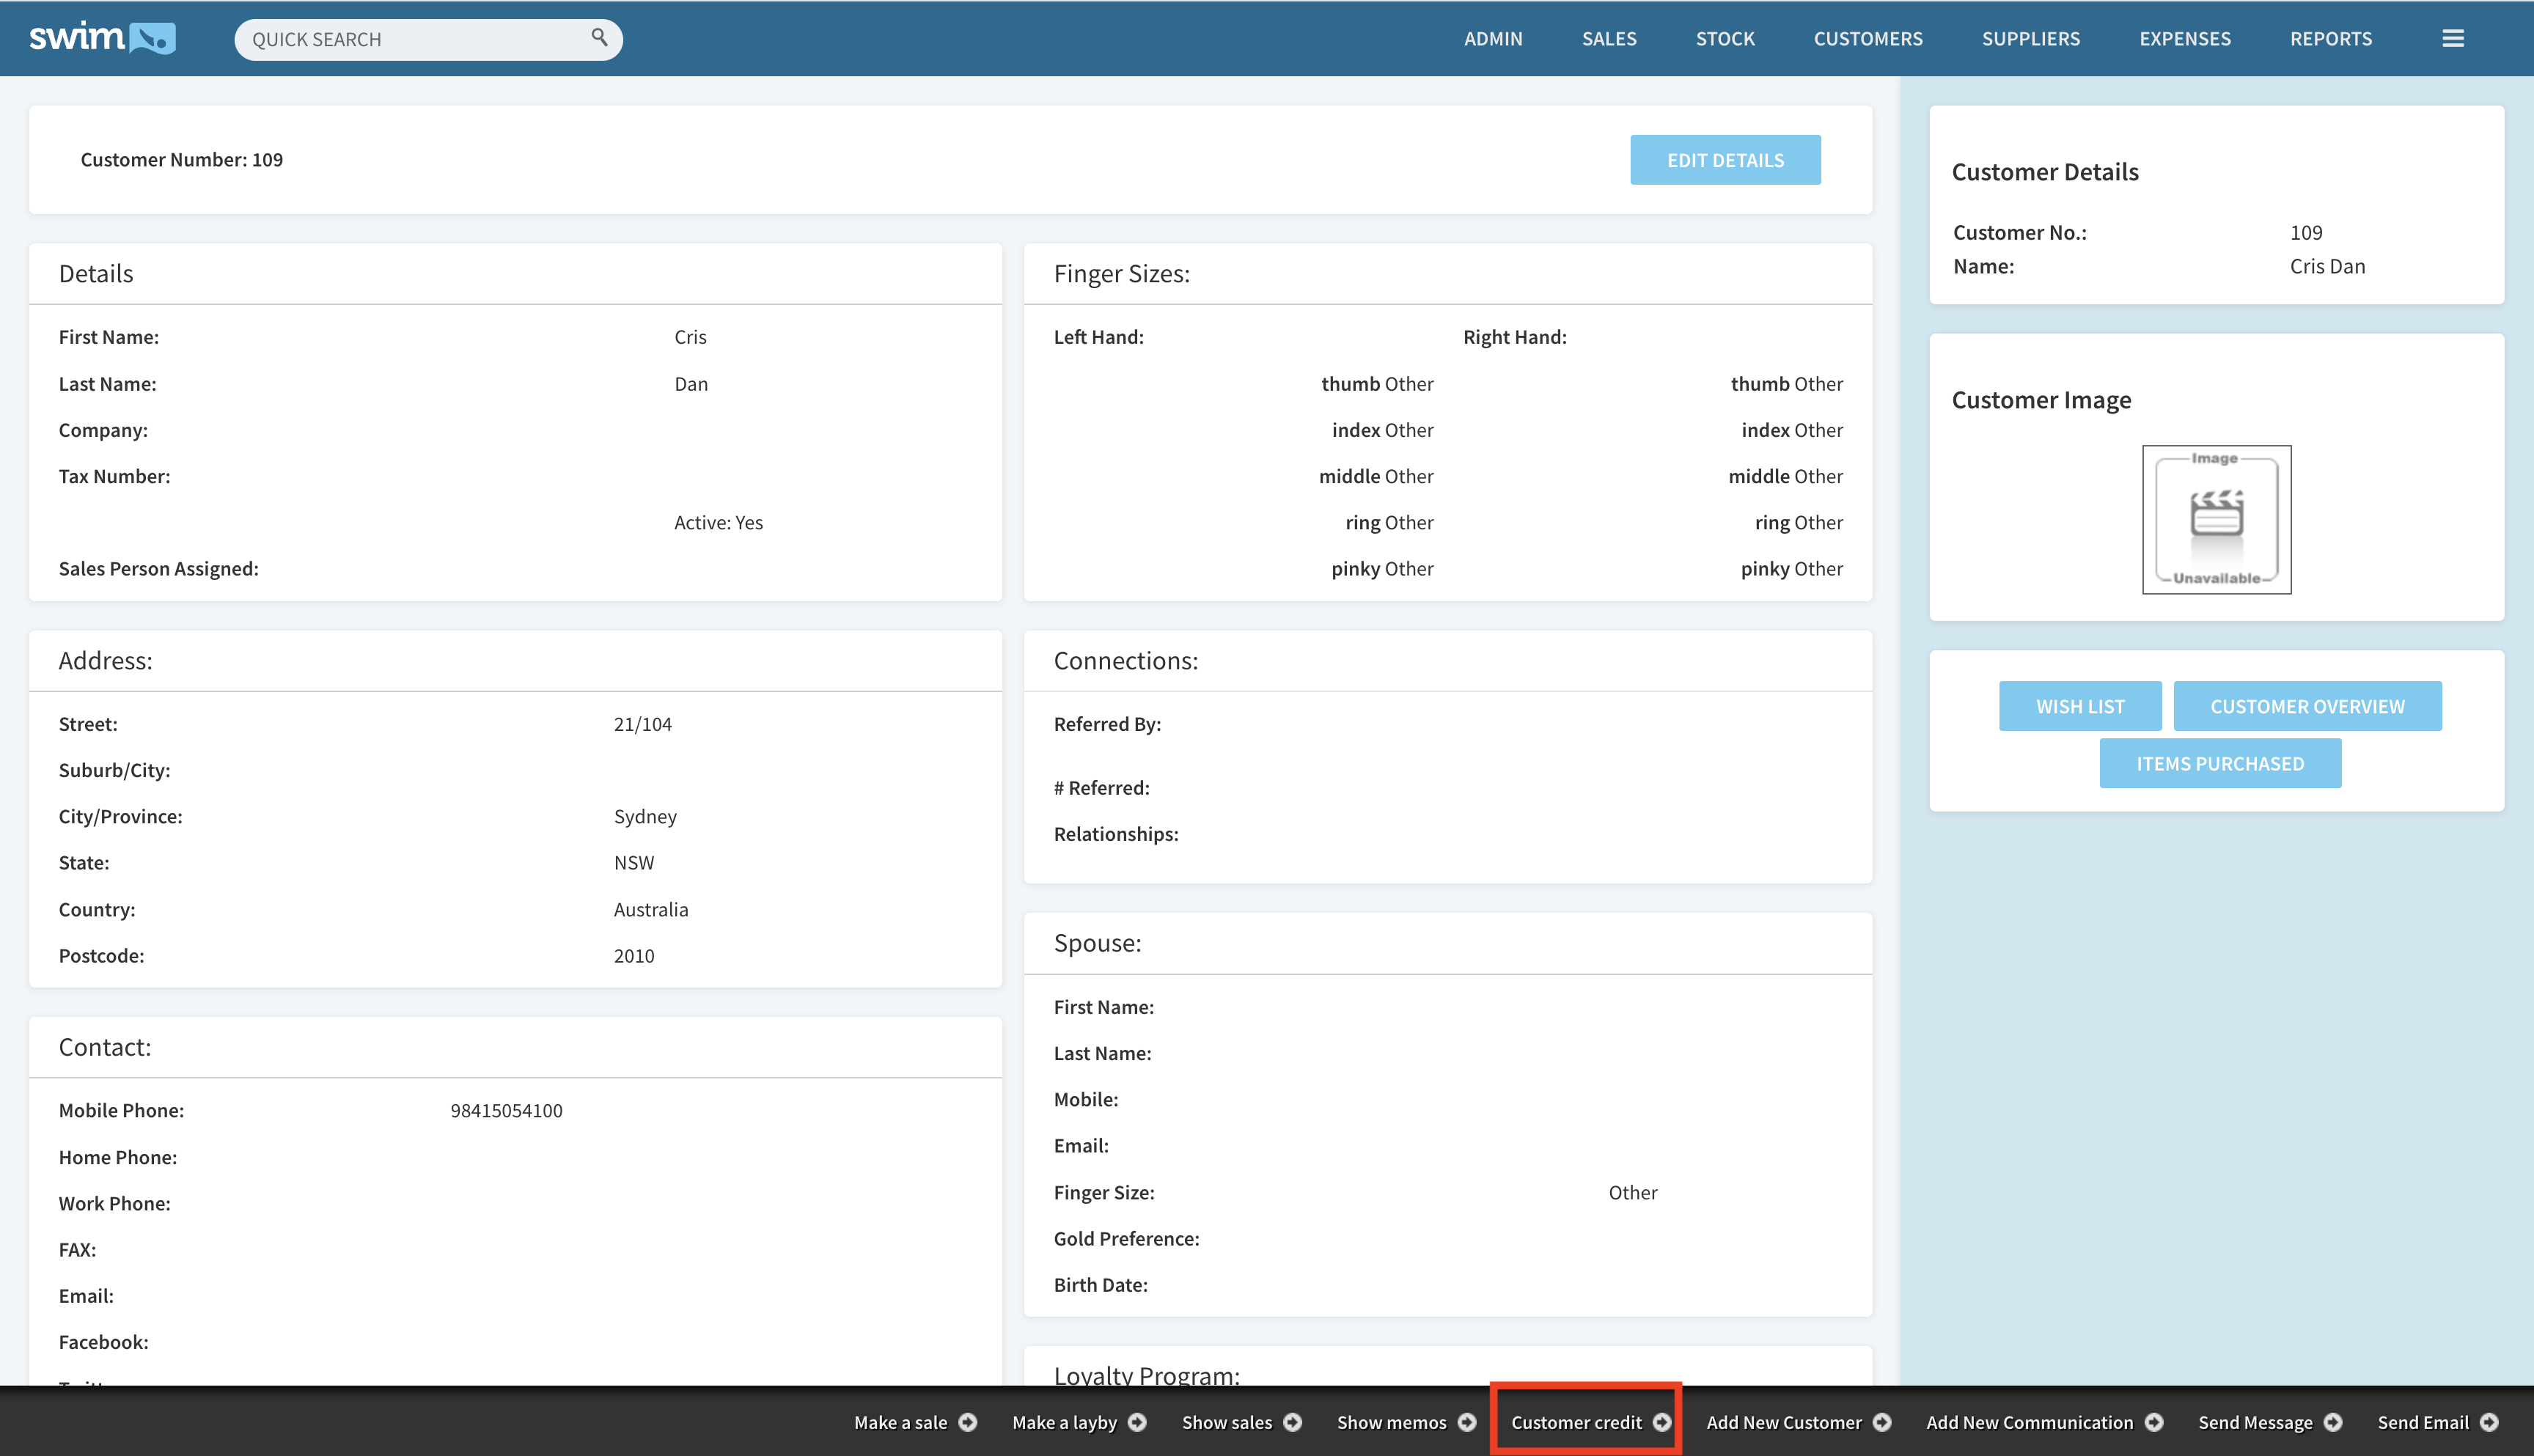
On the original store’s system (where the credit was first issued), find the customer and view their details.
-
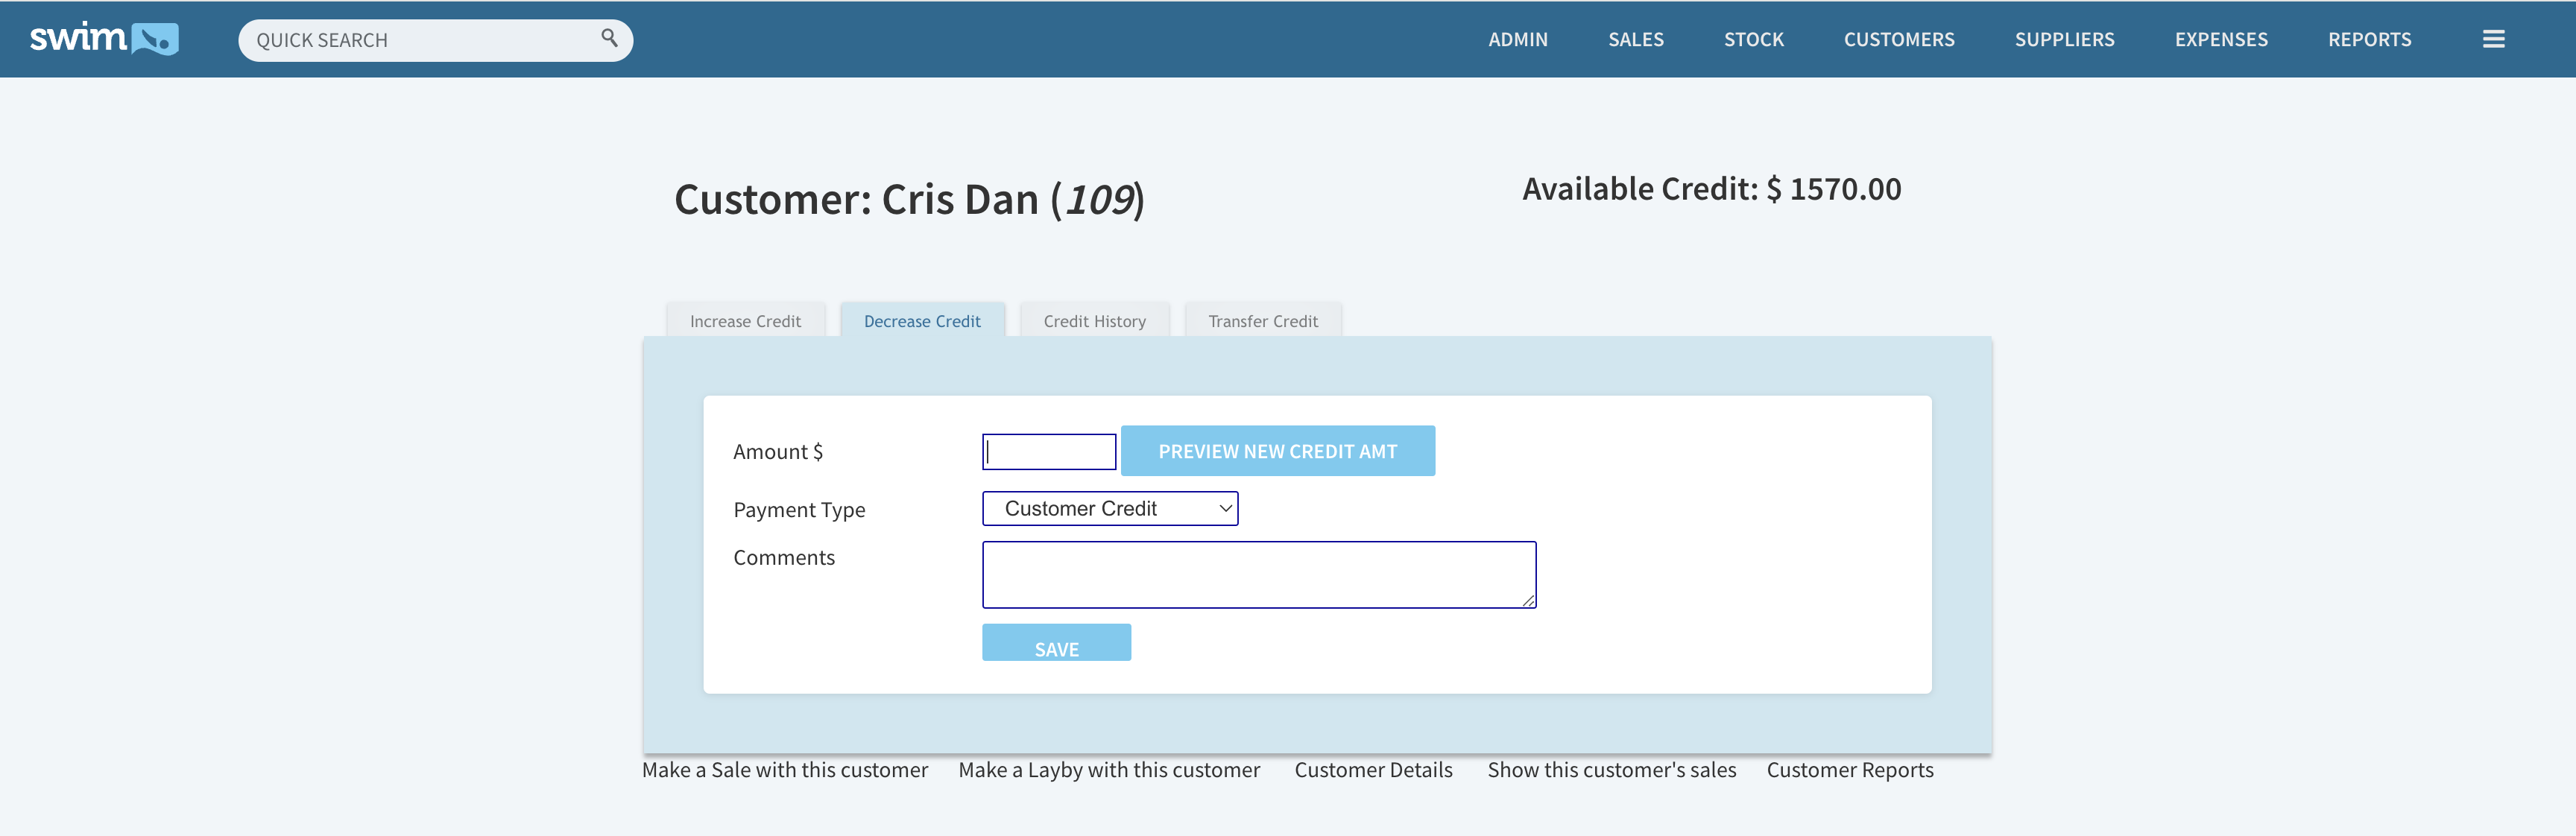
Select ‘Customer Credit’ to confirm the available balance.
-
While on this screen, click ‘Decrease Credit’ and enter the amount of credit the customer is using.
-
Click Save.
Step 2: Make the Sale at the Current Store
-
At the current store (where the customer is making the purchase), start a new sale.
-
In the Store dropdown, select the original store (where the customer was first entered and issued credit).
-
Search for and select the customer, then proceed to the sale screen.
Step 3: Process the Sale
-
Enter the items being purchased as normal.
-
In the Payment section, enter the amount of customer credit being used.
-
Select the payment type “Customer Credit from [Store Name]” (using the name of the store that originally issued the credit).
-
If there’s a remaining balance, enter any additional payment types as required.
Step 4: Finalise
-
Print the receipt.
-
Exit the sale.
